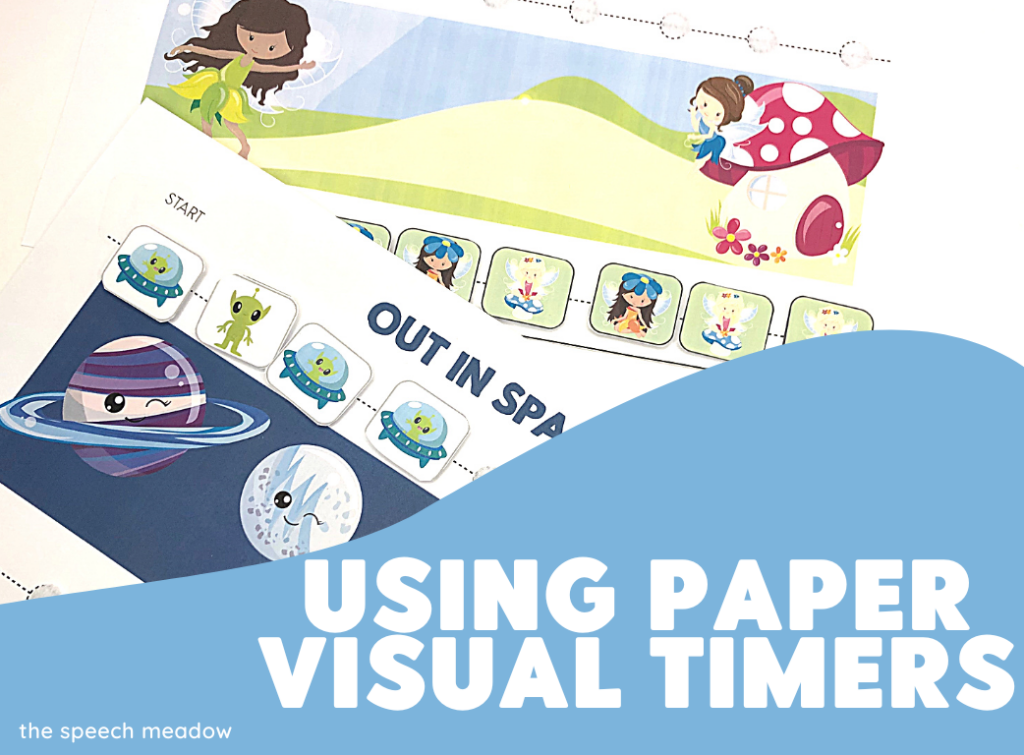
Children can find it overwhelming to complete an activity when they don’t know when that activity will be done. A way to help reduce the anxiety is to use visual timers. Timers can also help a child attend to difficult or unpreferred activities. Classic visuals timers are objects like Timed Timers, a minute timer, or an egg timer. There are even apps on your phone or iPad that you can use. For some children, using these kinds of timers can cause a meltdown. Paper timers are a good alternative if more “classic” timers cannot be used.

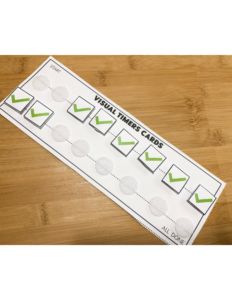
Paper timers are very similar to “I’m working for …” timers in that you move a picture to another spot when the time or part of an activity is complete. When all the images are transferred to the finished side, then the child is done with the task. The advantage of these types of timers is that you can change the requirements for moving a picture based on the activity. So, if you are doing a worksheet, then you can move the picture after two questions or, if you are using it to work on an art project, then you can move a picture every three minutes.
Reason for Using Paper Timers
For this type of visual, the goal is to show when an activity is done, not that you get a prize or treat. In this sense, these visuals are very different from “I’m working for …” visuals. You can use visual paper timers with a first/then board so that the student knows what will happen next.
The advantage of this type of timer is that it is flexible. You can use it for time or the number of what you want the child to complete. The other benefit is that you can slowly adjust the time or the number of tasks completed. This is particularly effective when a student is used to the timer. So, you can go from one minute to a minute and a half to two minutes using the same boards. If your goal is for a student to complete a task and it looks like they are struggling to do so, you can shorten the time they need to move a picture. It allows the child to feel proud that they have done what you wanted them to do.
To Make
Pick a size to make the board. Keep in mind your child(ren)’s fine motor skills, as smaller pictures can be harder to take off. For preschool and many kindergarten and Grade 1 students, I have used full-size pages and reduced the number of moveable pictures. You should have two sides for the moveable parts. Make one side always the “start” side and one side always the “finished” side. I like to have a picture in the middle.
Decide what size you want the board to be. You can use images that go with a theme. Pictures that go with interests can also be very engaging. If a child loves My Little Pony, then add My Little Pony characters. If they love Transformers, add Transformers. Using their interests in the timer can be rewarding for the children. It can also be memorable if you make it with the child.
Print everything on card stock and laminate it. Cut out the small moveable pictures. Attach a hook-and-loop fastener (e.g., velcro dots) on the start and finish sides, and the corresponding fastener on the moveable pieces. You are now ready to use it.
Implementation
Introduce this visual during a more preferred activity. Introducing it during a non-preferred activity can make the child feel more frustrated. Introducing it during a more preferred or neutral activity can teach the child how to use the timer in a less “high stakes” activity.
Decide the criteria of when to move a piece to the finished side. Tell the child the requirements for moving a piece. An adult is going to have to be in charge of when the child moves it over. Some children can start with moving the pieces over right away. Some children will do better if you are in charge of moving the pieces over at the beginning. Slowly transition to having the child move the pieces.
**Note! Try to avoid one-to-one correspondence with these types of timers, especially if you are using them to complete a specific number of tasks. Children will quickly get into the habit of doing one item then moving one picture. It can make it harder to increase the number of items per picture, making it hard to move to a timed activity.**
If you are interested in a free copy of a No Time Timer? Click here. If you are looking for some hints and hacks for making visuals check out this blog post. If you are looking for pre-designed paper timers, go here and if you are looking for an indepth introduction to visuals, check this book out.
Do you use paper timers or wanting to try. Let me know how it goes.

