Let’s be realistic; making visuals can be time-consuming. That being said, there are some hints and hacks for making visuals to make your life easier. Generally, you will need
-
- print off of your visuals
- one or more laminators
- laminating sheets
- scissors or a paper trimmer
- velcro dots (these are time saving and will save your scissors)
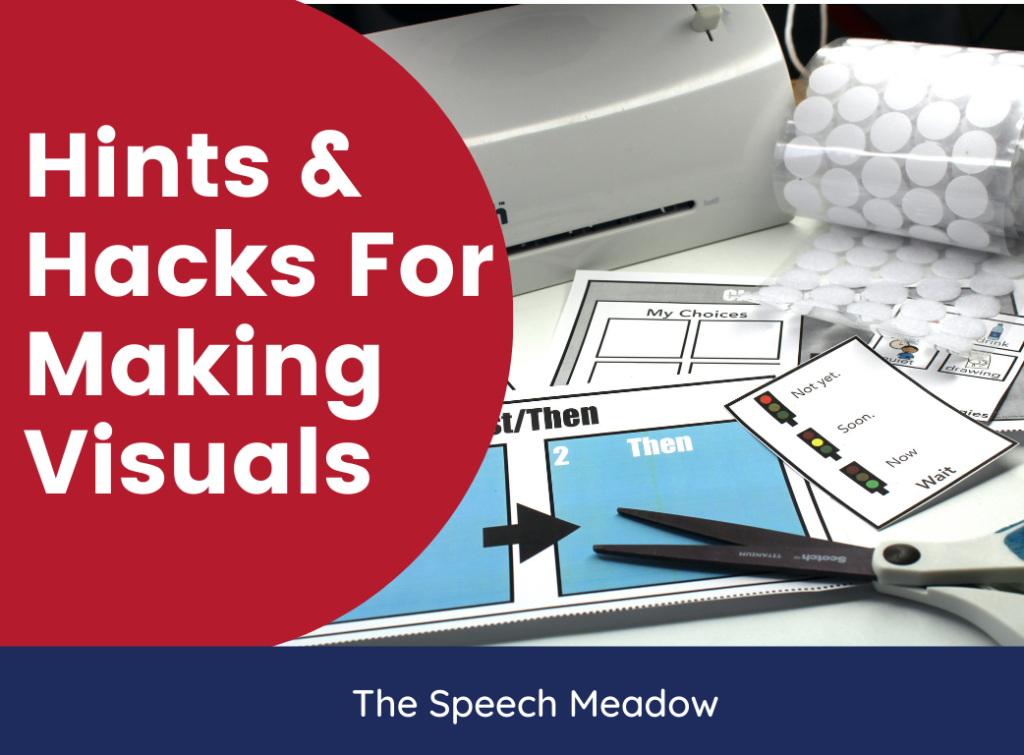
If you don’t have a laminator, you can use clear contact paper. The advantage is that it makes the paper more flexible and isn’t as stiff as if you laminate the same visuals. The clear contact paper is also matte, making it an excellent option for people who need pictures without glare.
When making the visuals that you will need to cut out, try and make the space between the visuals as small as possible. If the space between the visuals is small enough, it will reduce the amount of cuts you have to make.
Paper
The type of paper does not matter a whole much. Regular printer paper works just fine. If you are looking to make your visuals a bit more sturdy, you can use card stock. Sometimes it is easier for children to add and remove visuals if the visual is physically more sturdy.
Laminators and Laminating Sheets
Every once in a while, you will find questions on Facebook about what are the best laminators. Honestly, you don’t need to spend lots of money on a laminator. In fact, some of the cheapest laminators out there have lasted the longest and worked the best. So you will notice that above it says, “one or more laminators.” Wait? What? Yes, more than one. That is another reason; cheaper is better. You can have more than one laminator. If you are mass producing visuals, then having more than one laminator can save you time in the long run.
Now, what about laminating sheets? What thickness? Part of this has to do with preference and, to some extent, use. You may want some thicker sheets if it is a high-use visual or if the visual is going to be “well-loved.” Remember, the thicker the plastic, the harder it is, the bigger the chance of children getting hurt from the laminating. Three-millimetre thickness is a great all-purpose thickness.
Trick! Cut the corners or round the corners to avoid being hurt by sharp edges.
To Cut then Laminate or To Laminate then Cut?
This is the great debate. It is again more of a personal opinion. If your visual will be around water or will be washed often, you might want to cut then laminate. If you create your visuals this way, then they will be more waterproof. When you cut out the visuals for the final time, you will want to keep a sealed edge by leaving a gap between the visual proper and the laminated edge.
If you laminate, then cut, it will reduce the amount of prep time, but the visual won’t be fully sealed. Trick! To make the laminating on the visual last long, trim off the corners.
So which one lasts longer? Many SLPs have done many “unofficial experiments” and say that both last about equally long. Ultimately, it’s your preference.
Mass Production of Visuals
Again, making visuals can be very time-consuming, but there are ways to make visuals more efficient. Mass producing visuals can be a great time-saver; think of factory production lines. Print multiple copies of visuals and make them at one time. Laminate all the pages, add all the velcro, cut out all the pictures. Assemble everything. To keep organized, put like visuals together in plastic or paper bags. This will help stop visuals from being lost.
One advantage of mass-producing visuals is that they are ready if/when you need them. Yes, visuals need to be personalized, but it is always good to have generic visuals ready when someone needs a replacement or new visuals and you don’t have theirs ready. They are also great when introducing visuals to a student. That way, the student and their team don’t have to wait until the personalized visuals are done. The disadvantage of mass-producing visuals is that it is easy to become disorganized and lose pieces.
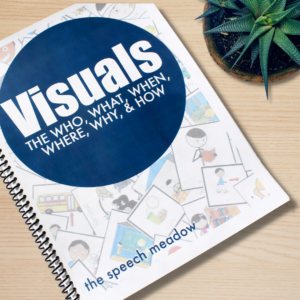
If you are wondering why they are important go here. If you are more interested in learning how to use visuals, check out this introductory visuals book (click here). It shares basic information to build information and confidence in classroom staff. What is your favourite hint or hack for making visuals?
One Comment