Photo books or memory books are a great way to work on speech and language skills. SLPs are starting to acknowledge that we can’t continue to work on speech and language goals in a vacuum. For our goals to be truly effective, we need to also target skills/vocabulary/speech words that functional for that student Using memory books in speech therapy are a great addition to your tool kit and a perfect for home practice. So what is a memory book? It is just like it sounds, it a book made up of photos that are important to that child or are objects, actions, etc… that work on a child’s goals. Here are the ins and outs of using memory books in speech therapy.
How to make a picture book
Decide what your book is about or what goals you are going to target. Take pictures or better yet have your child/student take the photos. Kids love to look at pictures of themselves so take some with the child in it. Note: If you are in school, make sure you know the policy for taking photos of students. Therapists can also have the parents send pictures for you to make the book in school.
Once the photos are taken, download them to a computer. Put the images on slides in Powerpoint or Keynote. You can use Word or Pages but it doesn’t work as well. I make each slide into a single page. At this point, you have two options, have the student or yourself type out a sentence or print it off and have the student write out what they want to say. Once the book is done, print it off or keep it as a digital file for phones and tablets. If you are printing them, and you want to make the book smaller, I set the printer to print multipages pages on a single page of paper. Cut out the pages if needed and staple the pages together. If you’re going to make the book more durable, I have either laminated it or put it page protectors and used duo-tang folders to bind it.
How to use a Memory Book in Speech
Once the book is made, read it with them. Use the strategies that you do with other books (click here to find out more). Talk about the pictures, read the sentences to them, or have them read the sentences. Have them show other students at school. For example, if you are working with mixed groups, have the students read their books to other children in the group. I have also had them show it to other staff at school, such as the Principle. If you are using the book at home, have them read it to other family members. These books be powerful tools to talk about past experiences and build vocabulary that is important to them.
Speech and Language Goals to Target
Increase use of action words (verbs): Take pictures of the child doing different actions. I worked with one very didecated parent who took pictures of their dog doing different actions and made a book. Go to the zoo and take pictures of the animals doing different actions. This is also a great way to work on verb tenses.
Expand the length of sentences: Take photos of events, activities and/or objects. Write out simple sentences that is one or two words longer than the child is currently using. Read the book to them to model the sentences, or have them repeat the sentences, or have them say the sentences once they have read the book a few times.
Increase the use of the “I” pronoun: Take photos of the child doing different things, holding their favorite toy. Write out the sentence using “I.” I will sometimes add an “I” visual to help. I have found if you just add a picture of the child, they will continue to say their name or use “me.” Smarty Symbols has some nice visuals you can use.
Correct use of other pronouns: If you are working on personal pronouns (e.g., he, she, they). Then take photos of different children/people doing different actions. Then write out the story using the appropriate pronoun. For possessive pronouns or nouns, take pictures of different children holding objects. Write out sentences with the targeted pronouns. Include people that are important to the child. For example, you can have a picture of the child’s grandma with a sentence that says something like, “This is Penny. She is my grandma.”
Correct use of prepositions: Choose the prepositions you want to target. Take photos of the child in those different prepositions (e.g., in front of the tree, under the tree, behind the tree).
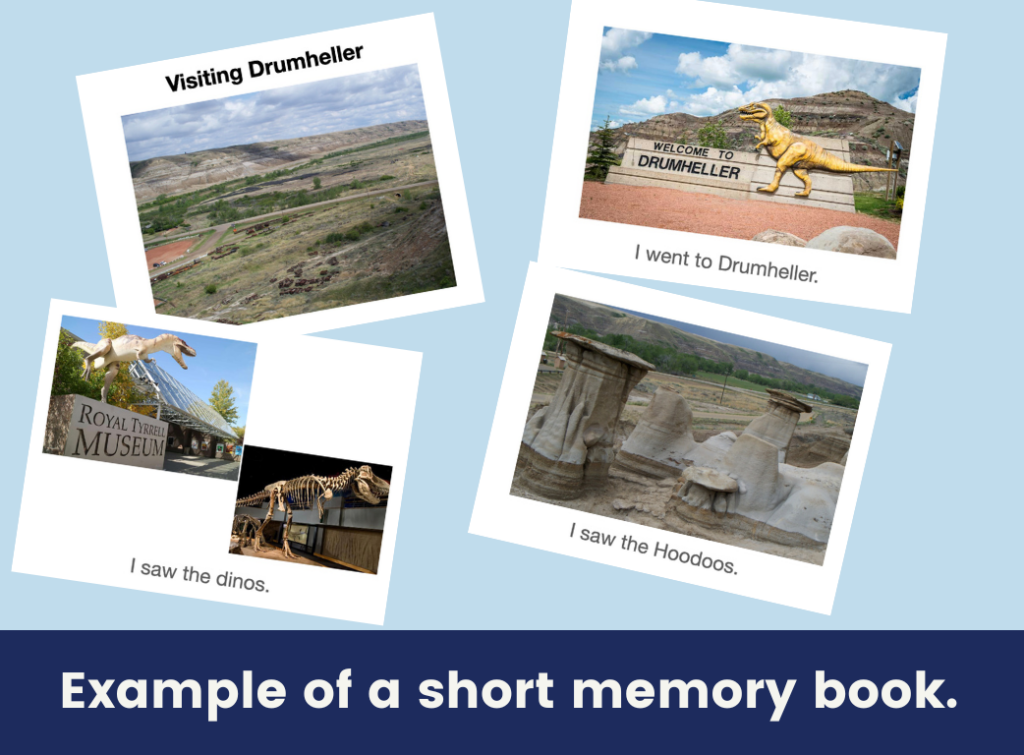
Work on narratives: This is one of my favourite uses. Take photos of a child going someplace or doing an activity (e.g., zoo, camping, park, store). Take pictures throughout the activity. Make a book about their experience. This will help the child talk about past events and answer questions like, “What did you do this weekend?” Alternatively, use toys and create a story by taking pictures of while they are playing then have them make up a story based on the photos.
Work on sequencing: Take photos of a child completing a task. It can be as simple as a dressing routine or more complex such as baking a cake, or doing a craft, or putting together a Lego kit. Once finished, write out the steps to complete the activity.
Work on describing: First determine the vocabulary (e.g., spotted, striped, big, little) or the object that you are going to describe (e.g., a favourite animal). Take pictures that correspond to the target and then write out sentences for the photos.
Work on pronunciation: Take photos of objects, activities, or events that includes the child’s sounds. If you are having a parent take the images, then provide them with a list of words. Alternatively, have the child find objects that contain their sound(s). This will also help with being able to identify sounds in different parts of a word.
These are the different ways I have used memory books in speech therapy. Can you think of other ways to use these books?
One Comment